 |

|

|
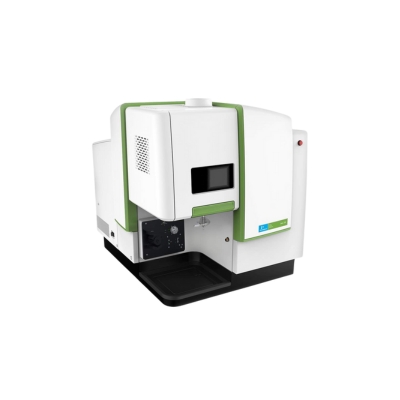
Perkin Elmer Avio 200
Inductively Coupled Plasma Optical Emission Spectrometer |
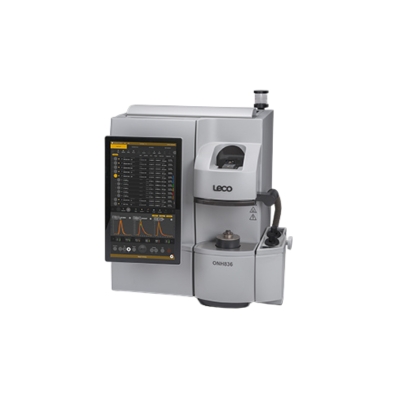
LECO ON836
Oxygen and Nitrogen Elemental Analyzer |
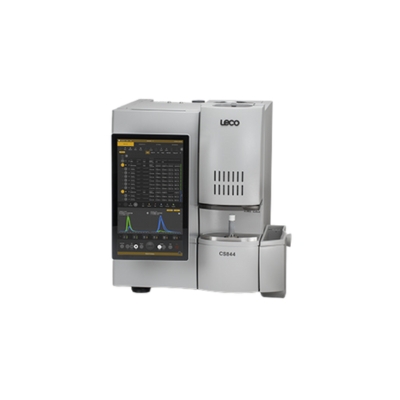
LECO CS844
Carbon and Sulfur Elemental Analyzer |
|
Avio 200 (equipped with a S10 Autosampler) is a compact ICP-OES that combines a vertical plasma design with hardware features to handle even the most difficult, high-matrix samples without dilution. The device can measure elements with high and low concentrations in the same run, regardless of wavelength. The device comes with a Titan MPS™ microwave sample preparation system for simple, safe, and cheap sample preparation for specialized applications. The range of detection for most elements (metals, transition metals, and metalloid elements) is typically 5 µg/L to 100 mg/L. To analyze carbon, sulfur, oxygen and nitrogen, please reserve time on LECO CS844 (Carbon-Sulfur elemental analyzer) or LECO ON836 (Oxygen-Nitrogen elemental analyzer).
Location: McArthur Engineering Building, Room 141
|
The ON836 Oxygen/Nitrogen/Hydrogen Elemental Analyzer is used for a wide-range measurement of oxygen, nitrogen, and hydrogen content of inorganic materials, ferrous and nonferrous alloys, and refractory materials using the inert gas fusion technique. The device supports simultaneous analysis of oxygen and nitrogen. The maximum concentration of oxygen measurement is 50 mg/g of sample and nitrogen (in Argon atmosphere) is 30 mg/g of sample. For complete chemical characterization, please book this in addition to the Avio 200 ICP-OES.
Location: McArthur Engineering Building, Room 141
|
The LECO CS844 is used to analyze a wide-range carbon and sulfur content for the determination of carbon and sulfur in primary steels, ores, finished metals, ceramics, and other inorganic materials based on the principle that CO2 and SO2 absorb infrared (IR) energy at unique wavelengths. The maximum carbon and sulfur concentrations that can be detected is 60 mg/g of sample and nominal throughput is 27 samples per hour. For complete chemical characterization, please book this in addition to the Avio 200 ICP-OES.
Location: McArthur Engineering Building, Room 141
|
 |
 |
 |
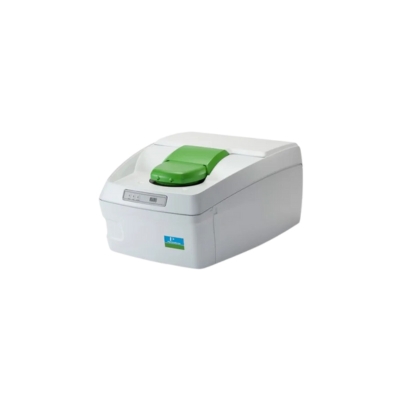
PerkinElmer DSC 8500
Differential Scanning Calorimeter |
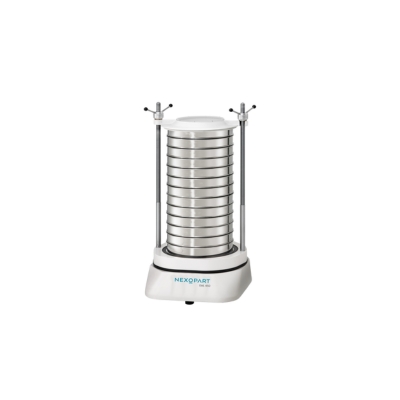
Haver & Boecker Sieve Sub-Sizing System
Sieve Shaker |
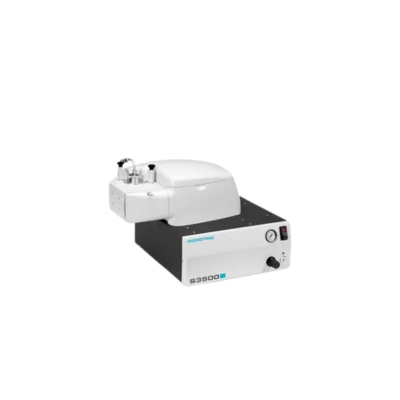
Microtrac S3500 DLS
Particle Size Analysis |
|
The Perkin Elmer DSC 8500 is a double-furnace DSC, with second-generation HyperDSC technology. Testing temperature ranges from -180°C to +750°C and can be operated under various atmospheres as required.
Location: McArthur Engineering Building, Room 141
|
Haver EML Digital Plus is typically used for size fractionation of metallic powders for additive manufacturing applications. Current sieve sizes range from 25 μm to 500 μm plus the pan to collect particles below 25 μm. This can be adjusted based on PI requirement.
Location: McArthur Engineering Building, Room 141
|
The Microtrac S3500 DLS laser diffraction (LD) Particle size analyzer can be used to evaluate the particle size distribution of a range of powder materials in suspension. The measurement is carried out with water or isopropyl alcohol as the dispersing medium. The S3500 measures particle size from 0.02 to 2,800 µm and utilizes Mie compensation and Modified Mie calculations for non-spherical particles. The device is also equipped with an optical camera to observe particle shapes as they are measured and to ensure accurate measurements without agglomerated particles.
Location: McArthur Engineering Building, Room 141
|
 |
 |
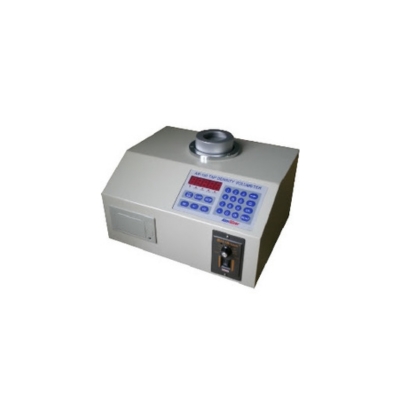
AimSizer AS-100
Tap Density Volumeter |
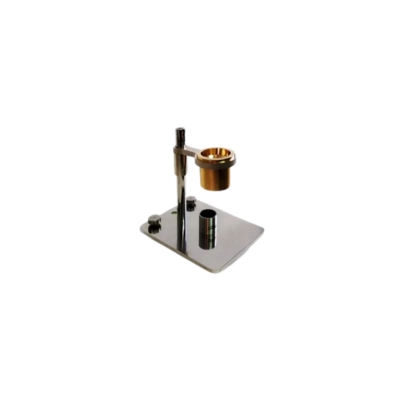
Arnold, and Carney Flow Measurement System
Hall
|
|
The AimSizer AS-100 Tapped Density Tester (single 250 mL glass graduated cylinder) is used to measure the tapped density of powders, as well as granulated or flaked materials by standardized and repeatable procedures.
Location: McArthur Engineering Building, Room 141
|
The Flow tests (based on pore sizes) is conducted to ASTM B213 and B964 standards, which includes rigorous requirements for the accuracy of the equipment and its calibration.
Location: McArthur Engineering Building, Room 141
|


